
Buying Guides
What Size Pergola Do I Need?
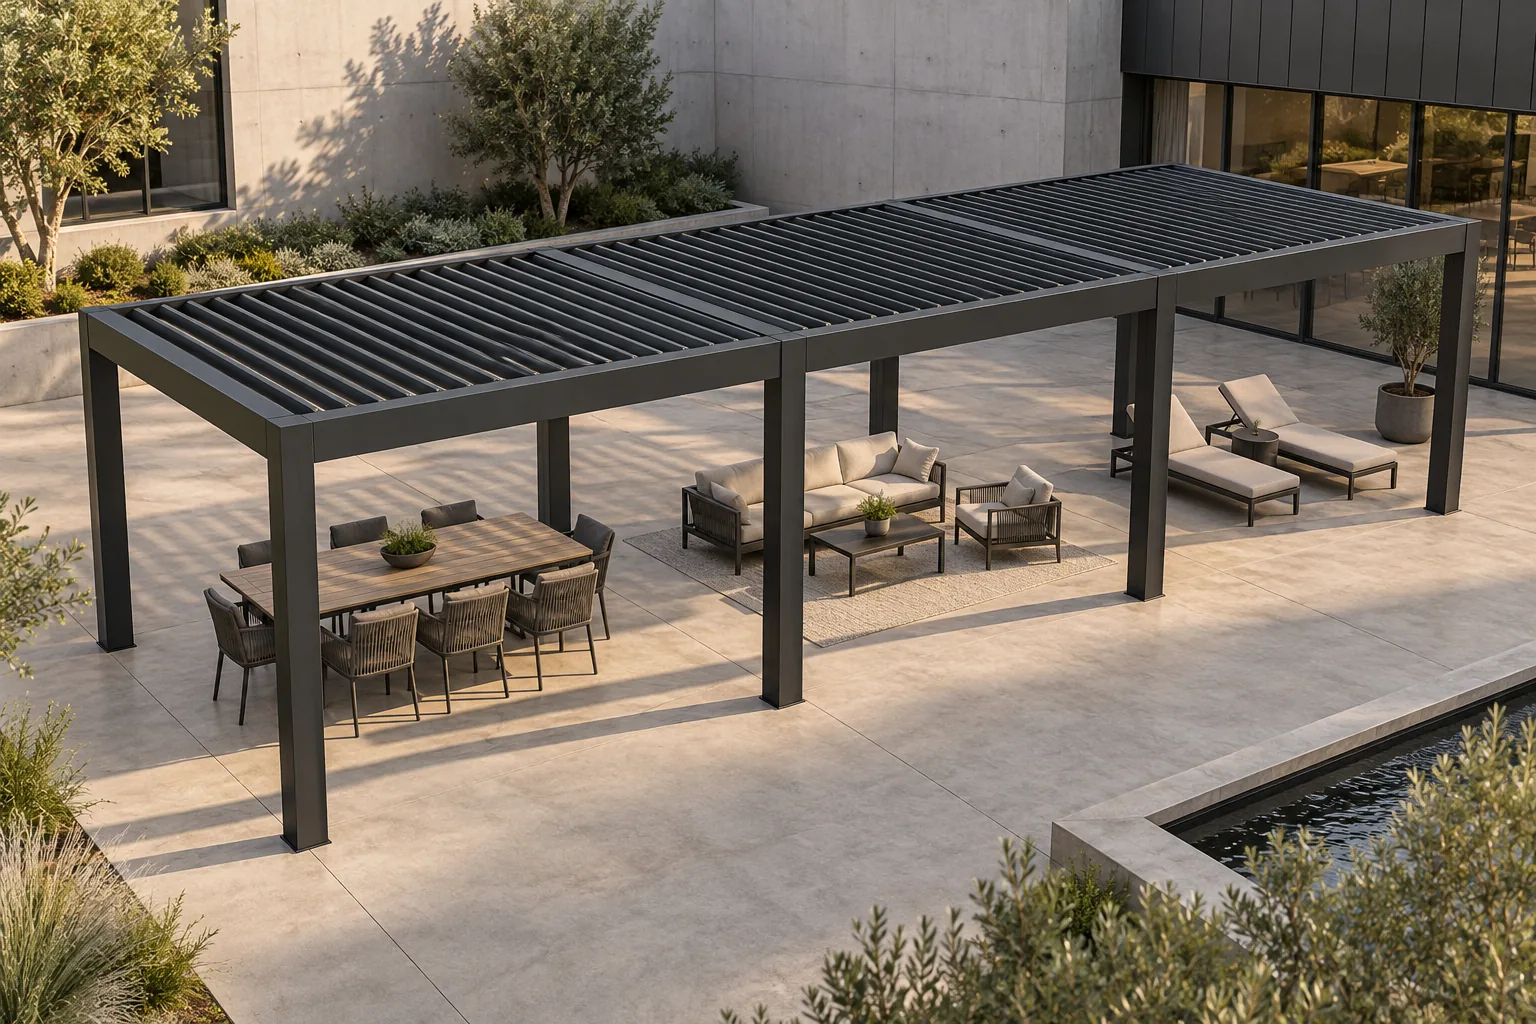
Choose a pergola size from real furniture, occupied chairs, circulation, support positions and useful shade. Includes a clearly labeled dining layout example.
DIRECT ANSWER
How do I choose the right size pergola for my patio?
Choose the pergola footprint from the activities inside it, not from the table dimensions alone. Draw the furniture at its actual size, add the space occupied when chairs are in use, then identify walking routes, doors, supports and accessory movement. Compare that usable layout with the selected system dimensions and the shade needed at relevant times. Overall roof size, clear space between posts and genuinely useful shaded area are different measurements, so request all three before approving a configuration.
WHO THIS GUIDE IS FOR
Use this guide to frame the right project questions.
- Homeowner selecting furniture and a roof together
- Designer coordinating dining and lounge zones
- Hospitality buyer planning service circulation
Separate overall size, clear space and useful shade
A catalogue dimension can describe an overall roof footprint, an outside frame dimension or another defined measurement. It does not automatically describe the clear rectangle available between supports. Ask the supplier to label the dimension convention on a drawing. Be especially careful when comparing products whose dimensions appear equal but whose post sizes, beam arrangement or module layouts differ. A small difference in a critical opening can affect a chair or route more than a difference in total roof area.
Useful shade is a third question. Depending on sun position and open edges, the occupied shaded area may not coincide with the roof outline throughout the day. Do not buy a roof solely by multiplying two headline dimensions. First identify the functional clear zone, then ask how the proposed footprint shades that zone at the relevant hours. This guide develops the furniture brief; the separate site-measurement guide addresses recording the physical installation conditions.
Use real furniture dimensions and occupied positions
List the furniture you intend to keep, not just the number of seats. Record the actual table width and length, sofa depth, chair projection, coffee table and any sideboard or planter. Show movable pieces in their normal occupied position. A dining chair pushed under a table gives a misleading impression of free space; a person sitting down or standing up changes the layout. If furniture has not been selected, use a specific candidate rather than an unnamed standard table.
Test the plan physically where practical. Mark an outline with removable tape or place the real furniture on the patio, then have people sit, rise and move through it. Include someone carrying a tray if meals will be served outside. This simple exercise can reveal a conflict that looks harmless on a sketch. Any personal-space assumptions remain design choices, not universal accessibility or emergency-egress standards; the responsible local professionals must check requirements applicable to the actual use.
A worked dining example with explicit assumptions
For illustration only, imagine a rectangular table measuring 2.0 metres by 1.0 metre. Suppose the owner chooses to test 0.75 metre from each table edge for occupied chairs and local movement. The resulting trial rectangle is 3.5 metres by 2.5 metres: table length plus two chosen allowances, and table width plus two chosen allowances. These figures demonstrate arithmetic, not recommended minimum clearances, a product size or evidence that a particular seating capacity is compliant.
Now put supports, doors and the main through-route on that trial rectangle. If people must pass behind occupied chairs, the chosen allowance may not answer the brief. If a post falls inside the rectangle, the overall roof might need a different configuration rather than simply a larger area. Repeat the exercise with the real furniture and intended users. Have the selected supplier show the clear internal dimensions, and obtain any necessary local accessibility and circulation review before adopting the layout.
Plan lounge areas by furniture depth and access
A lounge arrangement has different pinch points from a dining table. Deep sofas, projecting armchairs and an ottoman can consume the center of the space even when the nominal seat count looks modest. Draw the route from the house to the preferred seat and from that seat to the garden. Keep the coffee table and footrests in the drawing. A roof that covers every furniture edge may still feel awkward if people must step around objects whenever someone arrives.
Consider how the lounge changes during use. Reclining furniture, a movable shade screen or a portable serving trolley needs a movement envelope. If the pergola includes a side accessory, check its track, handles and open position against that envelope. Keep service access to roof drives and outlets in the plan as well. Furniture should not permanently trap the parts that later need inspection, and a decorative planter should not be used to disguise an unresolved conflict around a post.
Place supports and module boundaries before finalizing area
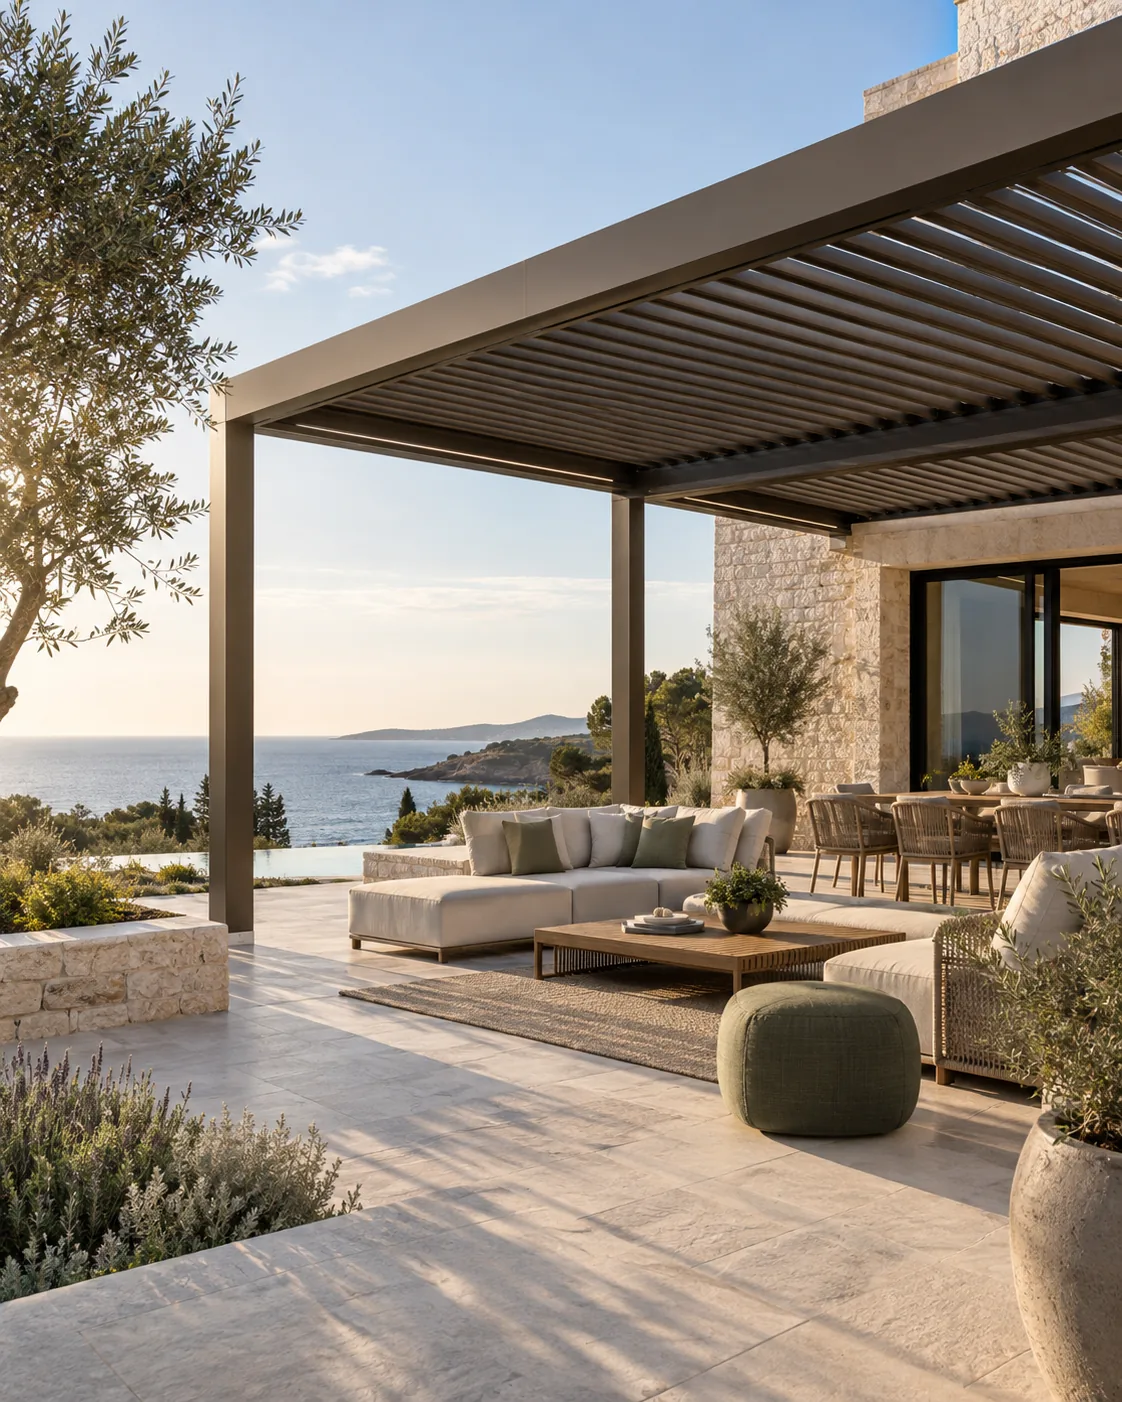
Two pergolas with the same total area can create very different furniture opportunities. A broad single zone, a long narrow rectangle and two coordinated modules do not have the same support positions or intermediate beams. Ask which arrangement is available for the selected system and conditions. If a large clear edge matters, identify that priority early. Do not assume a support can be removed because a neighboring catalogue illustration appears to have fewer posts.
For dining and lounge zones together, a module boundary may align naturally with the transition between activities. Alternatively, it may interrupt a service route or split a table awkwardly. Review a dimensioned support plan rather than choosing modules only by covered area. The structural arrangement remains subject to project-specific review. This sizing exercise is about functional planning and does not establish allowable spans, foundation dimensions or load capacity for any model.
Include doors, terrace edges and the route beyond the roof
A pergola does not end functionally at its roof edge. People need to approach it, open doors, carry furniture and move between covered and uncovered zones. Show outward-opening leaves, steps, railings, pool edges and changes in surface level. Keep routes to other destinations visible instead of using every available rectangle for seating. In a restaurant, the brief should include service movement and the intended operating layout, with applicable local checks performed by the responsible professionals.
A building-adjacent pergola also needs a coordinated relationship with facade features and existing equipment. Note lights, vents, pipes and any access panels that must remain usable. At the outer edge, show where water is intended to discharge and whether that area is also a walking route. A footprint selected without these interfaces may require expensive adjustments later. Resolve the functional constraints first, then let the site survey and system review refine the actual dimensions.
Check height and future accessories as part of sizing
Width and projection are only part of the occupied volume. Review the underside height, beam locations and roof movement relative to doors and equipment. If a fan, heater or light is being considered, request the actual compatibility and clearance information for that equipment. Do not treat a lifestyle rendering as installation guidance. Equipment selection and safe positioning need review by the responsible supplier and installer using the relevant instructions.
Future side screens or glazing can also change the usable space and access pattern. Ask whether later installation is feasible for the selected configuration and what should be prepared now. A promise to add options later is not enough without a defined compatible opening and service plan. If the future use is uncertain, keep the uncertainty in the brief rather than buying every accessory immediately. The objective is a layout that works now without making foreseeable changes unnecessarily difficult.
Convert the layout into a clear sizing request
Send a furniture plan, site photographs and a short description of the main activities. Label dimensions as measured, assumed or proposed. Ask for a drawing showing overall roof dimensions, clear post-to-post openings, support locations, module boundaries and the intended water route. Request a separate explanation of the useful shade assumptions. This gives competing suppliers the same functional target while allowing them to explain how their systems meet it.
Before approval, compare the returned drawing with the occupied furniture plan rather than the empty terrace alone. Check every critical route and every accessory movement. Keep unresolved site conditions and professional checks listed beside the proposed size. A useful outcome is not simply the largest roof that fits the paving: it is a coordinated arrangement whose usable space, supports and shade are understood. Once that arrangement is agreed, the detailed site survey and installation planning can proceed on a stronger basis.
COMPARISON
Dimensions to request on the same drawing before approval.
Use this table to structure a discussion, not as project approval.
| Measurement | What it describes | What it does not prove |
|---|---|---|
| Overall roof footprint | The defined external plan dimensions | Clear space between supports |
| Clear internal opening | Usable distance between specified obstructions | Shade at every time of day |
| Occupied furniture envelope | Furniture plus the chosen use and movement space | Universal code or accessibility compliance |
| Underside height | Vertical relationship with people, doors and equipment | Suitability of every proposed accessory |
| Shaded occupied zone | A studied result for stated conditions | Year-round comfort in all weather |
PROJECT CHECKLIST
Information to prepare
- Measure actual furniture rather than using seat count alone.
- Show chairs pulled out and lounge furniture in normal use.
- Identify walking, serving and access routes through the occupied plan.
- Label overall dimensions separately from clear post-to-post space.
- Place supports and module boundaries over the furniture drawing.
- Record doors, steps, pool edges and facade obstructions.
- Check useful shade for important hours, not just roof area.
- Confirm accessory movement, service access and required local reviews.
COMMON PLANNING MISTAKES
Assumptions to avoid
- Buying a pergola from the table footprint without occupied chairs.
- Assuming outside dimensions equal clear usable dimensions.
- Selecting total area before locating supports and through-routes.
- Treating illustrative allowances as universal minimum clearances.
- Adding screens or equipment without checking the resulting occupied space.
FAQ
Questions about what size pergola do I need
What size pergola fits a six-seat dining table?+
Seat count alone cannot determine the footprint. Measure the selected table and chairs, show occupied positions and add the movement space appropriate to the actual users and routes. Then place the supports and compare clear dimensions with useful shade. Obtain applicable local circulation and accessibility review.
Should the pergola be larger than the furniture?+
Plan for the space needed to use and approach the furniture, not only its storage footprint. The appropriate arrangement depends on chair movement, routes and support positions. A nominally larger roof can still be awkward if a post blocks the occupied area.
Is a 3.5 by 2.5 metre pergola enough for dining?+
The dimensions in the worked example are a hypothetical trial envelope based on stated assumptions, not a recommended pergola size. Actual furniture, users, supports, shade and applicable local requirements determine whether a proposal works. Ask for a dimensioned layout review instead of adopting the example directly.
How much space should be left behind dining chairs?+
There is no universal allowance in this guide. Test the actual chair in use, whether people must pass behind it and any requirements that apply locally. Mark the chosen allowance as a design assumption and have the responsible professionals review the intended arrangement where needed.
Can two pergola modules work better than one?+
They can be worth comparing when separate dining and lounge zones are planned. Review intermediate supports, beams and the transition between activities. Two modules are not automatically better or worse; the functional layout and project-specific system review should guide the decision.
What drawing should I request before ordering?+
Request overall dimensions, clear openings, height, supports, module boundaries and relevant accessory movement on a coordinated plan and section. Overlay the occupied furniture and walking routes, and ask the supplier to identify assumptions, exclusions and outstanding site checks before approval.
NEXT STEP
Review your furniture layout
Share actual furniture sizes, intended activities and a site sketch to discuss clear openings and a suitable module arrangement.
Review your furniture layout